Pages

Monday, June 27, 2011

Broken Oven Strawberry Pie

  Life Happens.....
     Our oven is broken. Or, to be more specific, the touch pad that controls our oven is broken. A replacement part has been ordered, but it will take 7-10 days to arrive, so we remain oven-less until that time. Thankfully though, since it is the touch pad and not any of the heating elements, our stove still works :) Last weekend we had a cookout for Father's Day and my parent's wedding anniversary, which happened to fall on the same day this year. The strawberries are in full swing, *insert Lynn's happy dance of summer berry glee here*, and our original plan was to either make strawberry shortcake or take a crack at this luscious looking strawberry cake, but our sans-oven status pretty-much negated that. Perusing my Mom's cookbook shelves I came across a small, paperback cookbook from the late 1970's that was published by the Pulaski, NY, ABE Program (basically an Adult Continuing Education program). Seeing that I had taken it out, my Mom flipped through the book also and noticed this Strawberry Pie recipe. It called for a graham cracker crust, and she happened to have a pre-made crust on hand. It looked quite easy, didn't call for the oven since we already had the crust, and we had just gotten a flat of strawberries at the Farmer's Market. It was meant to be :)

   This pie is sweet and simple. Strawberries, Cream Cheese, Sugar, Cornstarch, Water. Yup, that looks a lot like just FIVE ingredients to me!  Okay, five ingredients not counting the pre-made crust that we already had. There are certainly some decent pre-made pie crusts out there, choose your favorite brand or label read until you find one that doesn't have a lot of junk in it. Or, heck, if you have one on hand that YOU made, so much the better :)

Broken Oven Strawberry Pie
- taken from the *Pulaski ABE Recipes* Book, 1979 edition. Inspired by "Glazed Strawberry Pie", submitted by Maureen Labrake of Oswego, NY.

- Pre-baked 9 inch graham cracker pie crust (a regular pie shell would be fine too)
- 1qt drained, hulled strawberries (fresh, local, in season strawberries will be best, but out of season strawberries will do in a pinch)
- One 3oz package cream cheese, softened
- 1 cup of sugar (or to taste, depending on sweetness of berries)
- 3 tbsp. cornstarch

- Spread softened cream cheese over the bottom the pie shell and cover with half the berries (use the choicest and most attractive berries for this)


- Mash the remaining berries and add a little water to them if necessary until you have about 1& 1/2 cups. Transfer the berries to a saucepan, bring to a boil and stir in sugar and cornstarch. Cook over low heat, stirring constantly, until mixture returns to a boil. Boil one minute.

- Allow mixture to cool slightly. Pour mixture over berries in pie shell. Chill pie for at least two hours or overnight. Serve with whipped cream :) Enjoy the berries while they last :)


Thursday, June 23, 2011

Victory Pancakes (Oatmeal Pancakes with Blueberries and Honey)

Hello, My Loves,

  In the archives of this blog, I'm pretty sure we've already covered the concept of food emergencies. In essence, a food emergency, in my little world, is when you have an inexplicable need for a certain food, a close relative of the *craving*, or as my Mom would say, a *wooly* :) Last Monday night, I wanted pancakes. I NEEDED pancakes, I would not REST until I had PANCAAAAKES! I'm not sure why, because I had just had some pretty good ones a few days earlier when I went out for breakfast with Michael's family, but there it was. I was in the midst of a pancake emergency. Something had to be done. It was pretty late in the evening, too late to make pancakes right then, so I did some recipe research for the following morning. I've really been enjoying the inclusion of more whole grains and other healthful foods into my daily diet, so I decided to look at recipes for whole grain pancakes,with the added caveat that  they had to be made from ingredients that I already had in the house, because I was too lazy to make another trip to the grocery store. I didn't have any whole wheat flour in the house, but, I did have Oats. Wegman's brand Quick-Oats, to be exact. Oatmeal pancakes they would be :)

  Allow me a quick subject detour to explain something. Although I love pancakes, the creation of the perfect pancake has always eluded me. I make a dang good pancake batter, but I always seem to stumble when it comes to the actual *cook and flip* part. I inevitably flip them too early or too late, ending up with either burned, broken or undercooked pancakes. A few years back I attempted a batch of Ricotta Pancakes that were such a complete disaster that I was actually in tears over them. So, suffice it to say, up until recently, I was more than content to do the *mixy-mixy* part and let a kitchen helper do the *flippy-flippy* part. However, in the midst of a food emergency with no kitchen helper in sight, it was time to face my pancake-flipping fears :)

    So, Monday night was spent looking for whole grain pancake inspiration. The base recipe I eventually went with (though admittedly, I altered it a fair bit) came from a website called allrecipes(dot)com, here's the link. I used to use this site a great deal and I have no idea why it has recently fallen off my radar, I definitely need to go back to using it for recipe inspiration in the future. It's almost like a recipe-themed Facebook. People post recipes by category and then other people rate them and leave comments about trying the recipe and anything they did to adapt it, suggestions, etc. They also have nutrition info and a tool to scale recipes up or down, depending on how many people you're feeding :) It's a fun site, check it out :) So, I had a base recipe to work from, and all the ingredients I needed, I couldn't wait for breakfast the next morning :)

   Boy oh boy,either the Gods of Whole Grain Goodness were with me or I've magically gotten the hang of pancake flipping, because these turned out better than I could have hoped :) Pancake redemption was MINE!!! All kidding aside, they taste great, really, they do, and not in that apologetic *we're not bad for whole grain, don't complain,we're healthy* kind of way. They taste good in and of themselves. They don't need to measure up to regular pancakes, they stand on their own merits. Also, (and this is just my personal preference) I don't really like overly sweet pancakes, and sometimes pancakes that are made with just white flour, especially if they have fruit in them plus syrup on top, are too sweet for me. With these, the oat flour balances out the blueberries, making the pancakes just sweet enough.

  The batter is half oat flour and half all-purpose flour (but nutritionists say that anything made with at least 50% whole grain is considered whole grain, so we're good:). I'd be willing to bet you could probably coax the ratio to three parts oats to one part flour, and they'd probably be fine and you'd get even more oat goodness.  I also replaced the sugar with honey and used skim milk ( but really, that was just because I didn't have any buttermilk, you could use low fat buttermilk here too and they would be equally delicious). Since I was only making a test batch, I made a mini-version of this recipe that made about 5 medium-sized pancakes. Here is the recipe scaled for a more normal-sized batch. This should make about 10-ish pancakes, depending on how big you want the pancakes to be. Making and eating these put a smile on my face :)

Oatmeal Pancakes with Blueberries and Honey
(recipe inspiration taken from www.allrecipes.com, from member name *mom2hhh*)

- 1 cup all-purpose flour
- 1 cup quick oats or 1 cup oat flour
- 2 tbsp. Honey
- 2 tsp. baking powder
- 1/2 tsp. baking soda
- 1 tsp. salt
- 1 1/2 cups skim milk or low-fat buttermilk
- 4 tablespoons vegetable oil
- 2 eggs
- 1-2 tsp. vanilla extract (optional)
- 1-2 cups blueberries, depending on how much fruit you like in your pancakes.

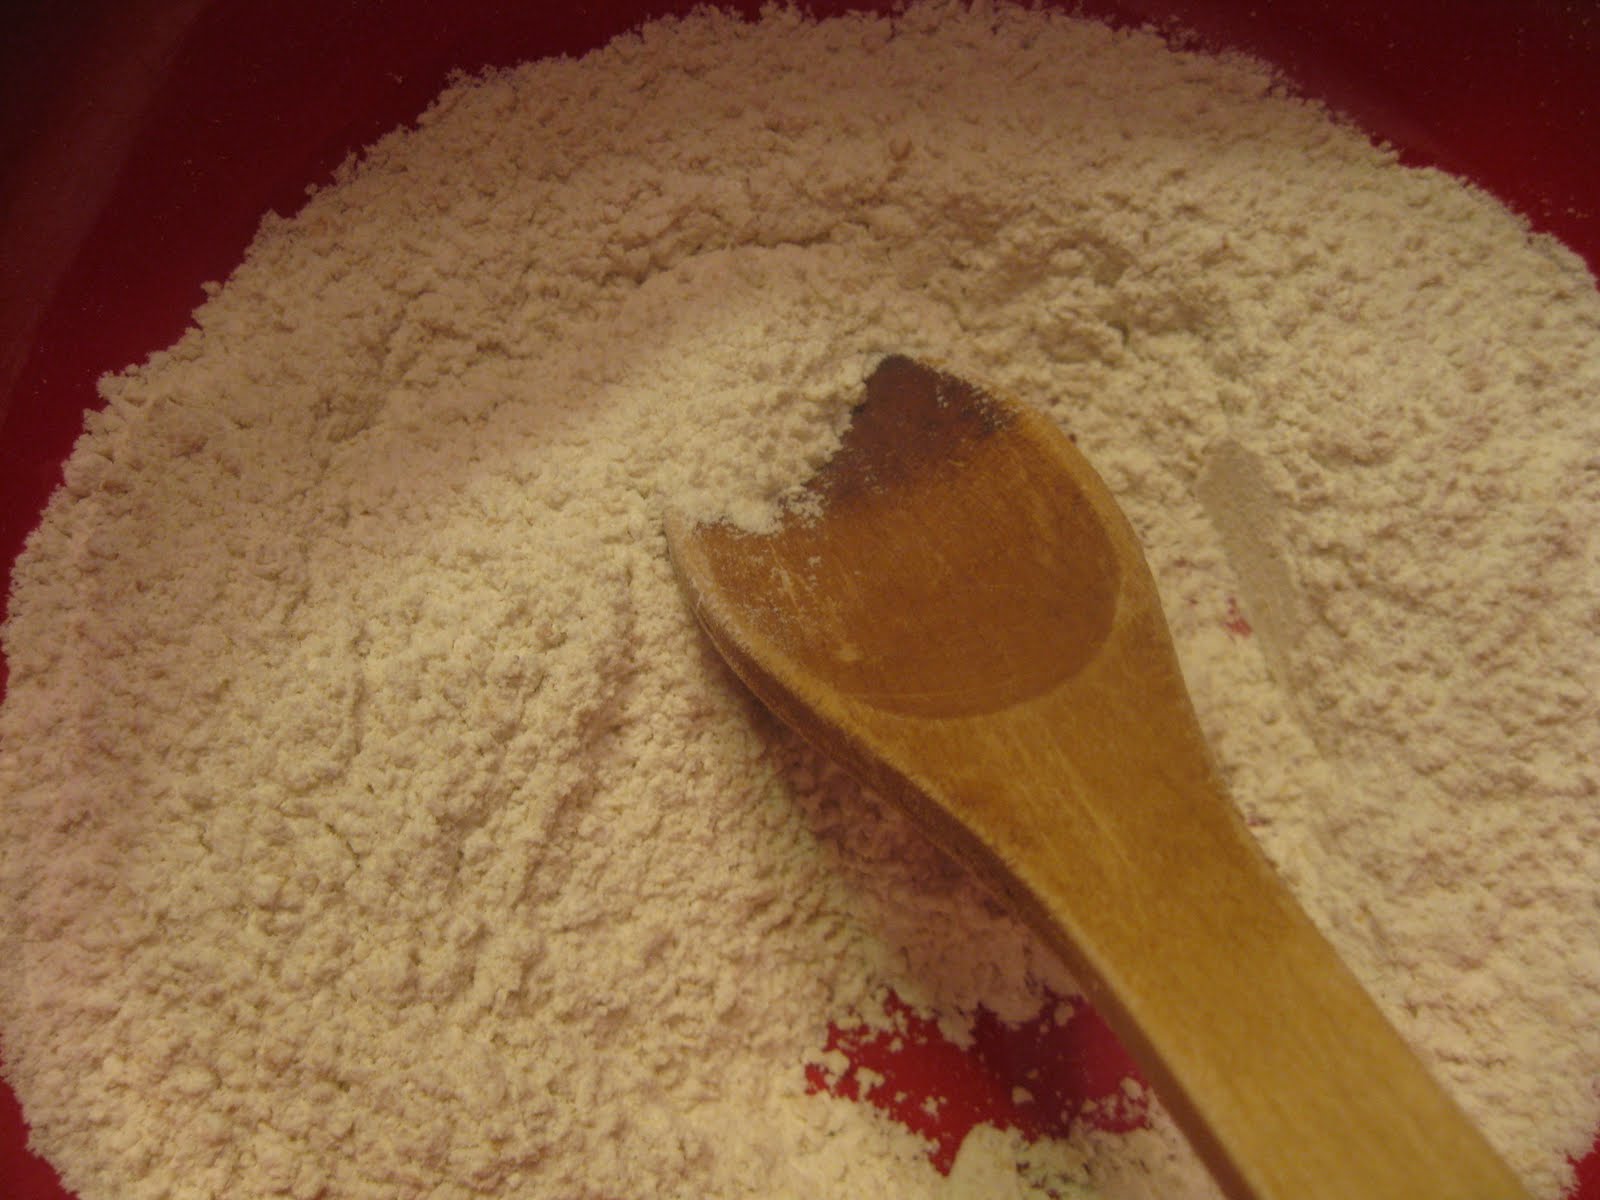
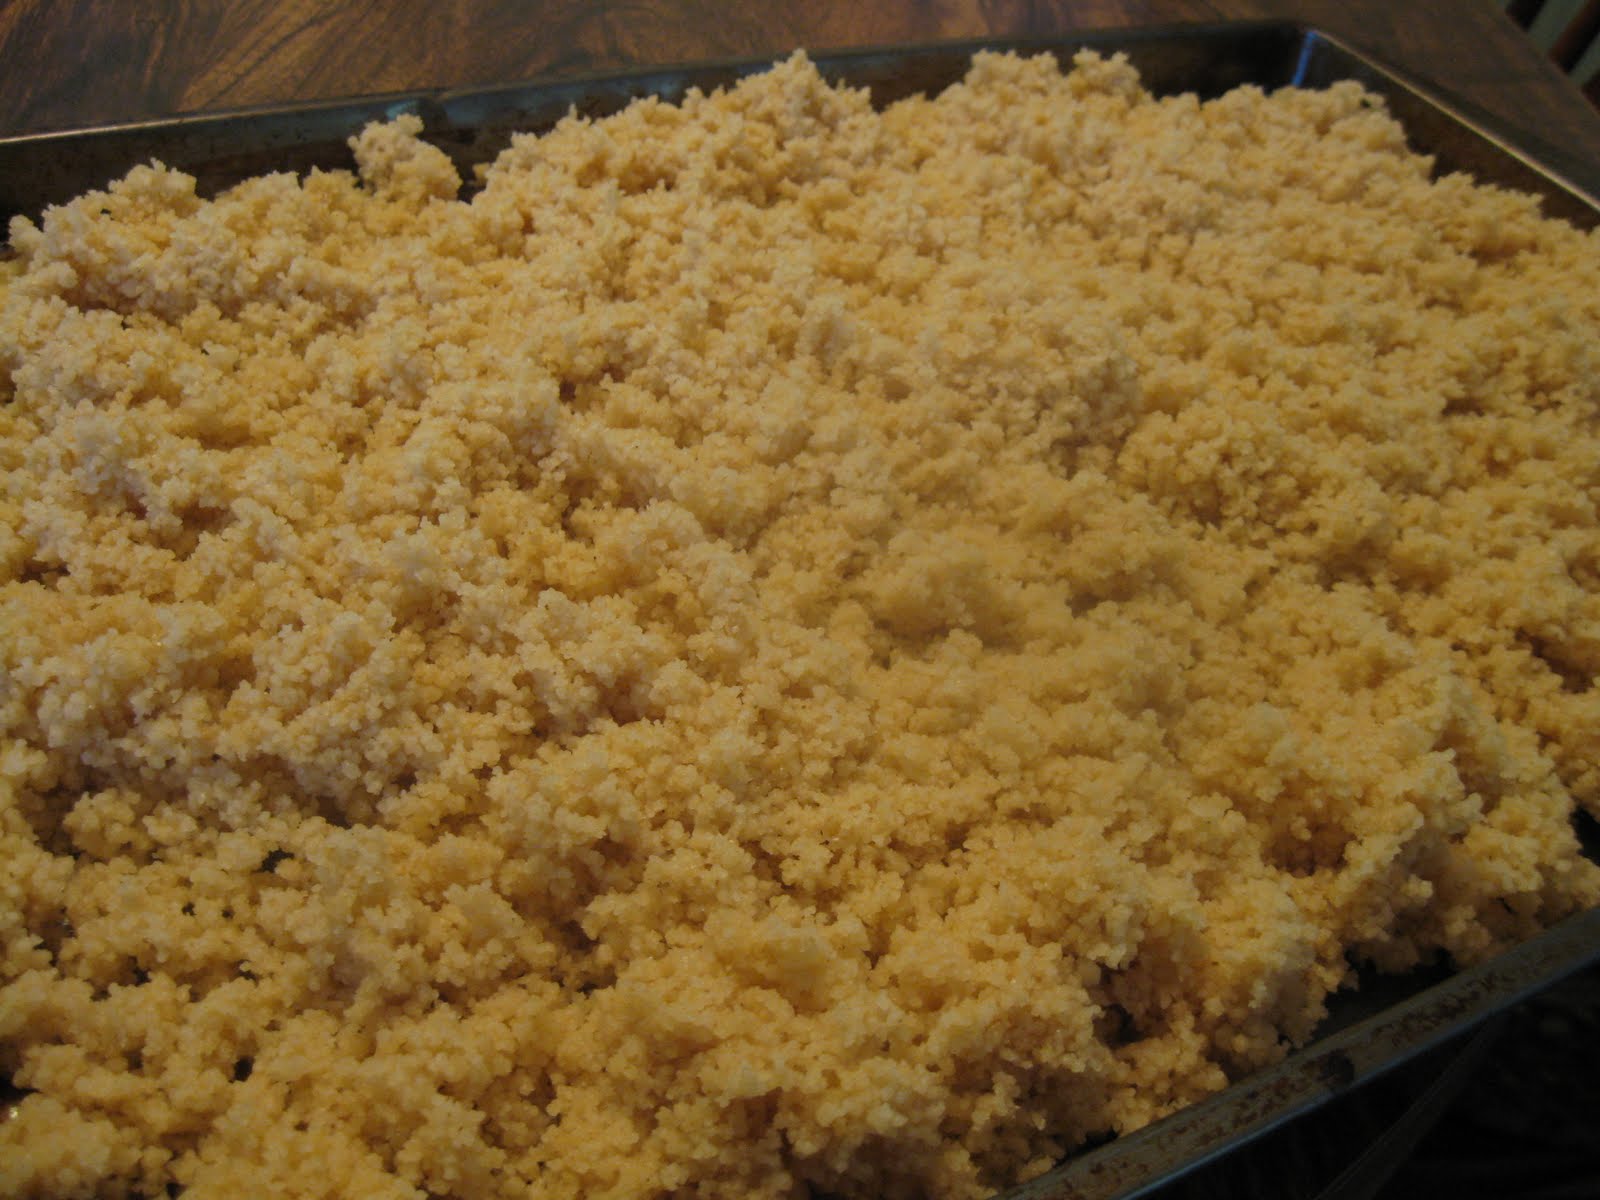
-If you are starting with Quick Oats and not Oat Flour (like I did). Put the oats in the food processor and pulse them a few times until they are coarsely to finely ground, but not all the way down to powder. *points down* 


  (All oat flour is is ground up oats, save yourself the price markup, buy a container of quick oats, grind them in the food processor and bingo, you have oat flour. Store them in an air tight container you're golden :)

- Transfer oats to mixing bowl and add all remaining ingredients. Mix all ingredients together. IMPORTANT!!! Do not over mix the batter, it will look a little lumpy and that's fine. I find that 10-12 stirs around the bowl with a large spoon is all you need, seriously. See Notes.

Note 1: If you want to take the time, you can put all the dry ingredients in one bowl, all the wet ingredients in another bowl and then add the wet to the dry. I confess, I did not do this, and everything turned out fine.

Note 2: If you want to save a step, you can put all the ingredients into the food processor and puree until smooth. It would save you time and there'd be one less mixing bowl to clean, I just like to mix things, so I did it by hand :) It's more satisfying to me :)


- Heat a lightly oiled or buttered griddle or frying pan over medium to medium-high heat (I alternated between butter-flavored PAM spray and butter, the butter won hands down, I'll take the few extra calories, and you could certainly use oil instead) . Pour or scoop the batter onto the griddle, I used a soup ladle, about one ladle-ful per pancake. When pancakes become dull (as in, no longer shiny) around the edges and little bubbles start to pop up in the middle, sprinkle the berries onto the pancake and you are ready to flip. (THAT's the trick I've been missing, matte around the edges and bubbles in the middle, I MUST remember this!!!) Another pancake-flip hint. If the pancake is too big to flip with one spatula, or the spatula is on the small or narrow side, use two spatulas. One in each hand. Slide the two spatulas horizontally under the pancake and then flip. I would I could have take a photo or video of this, but I could not, because I had a spatula in each hand 0_o

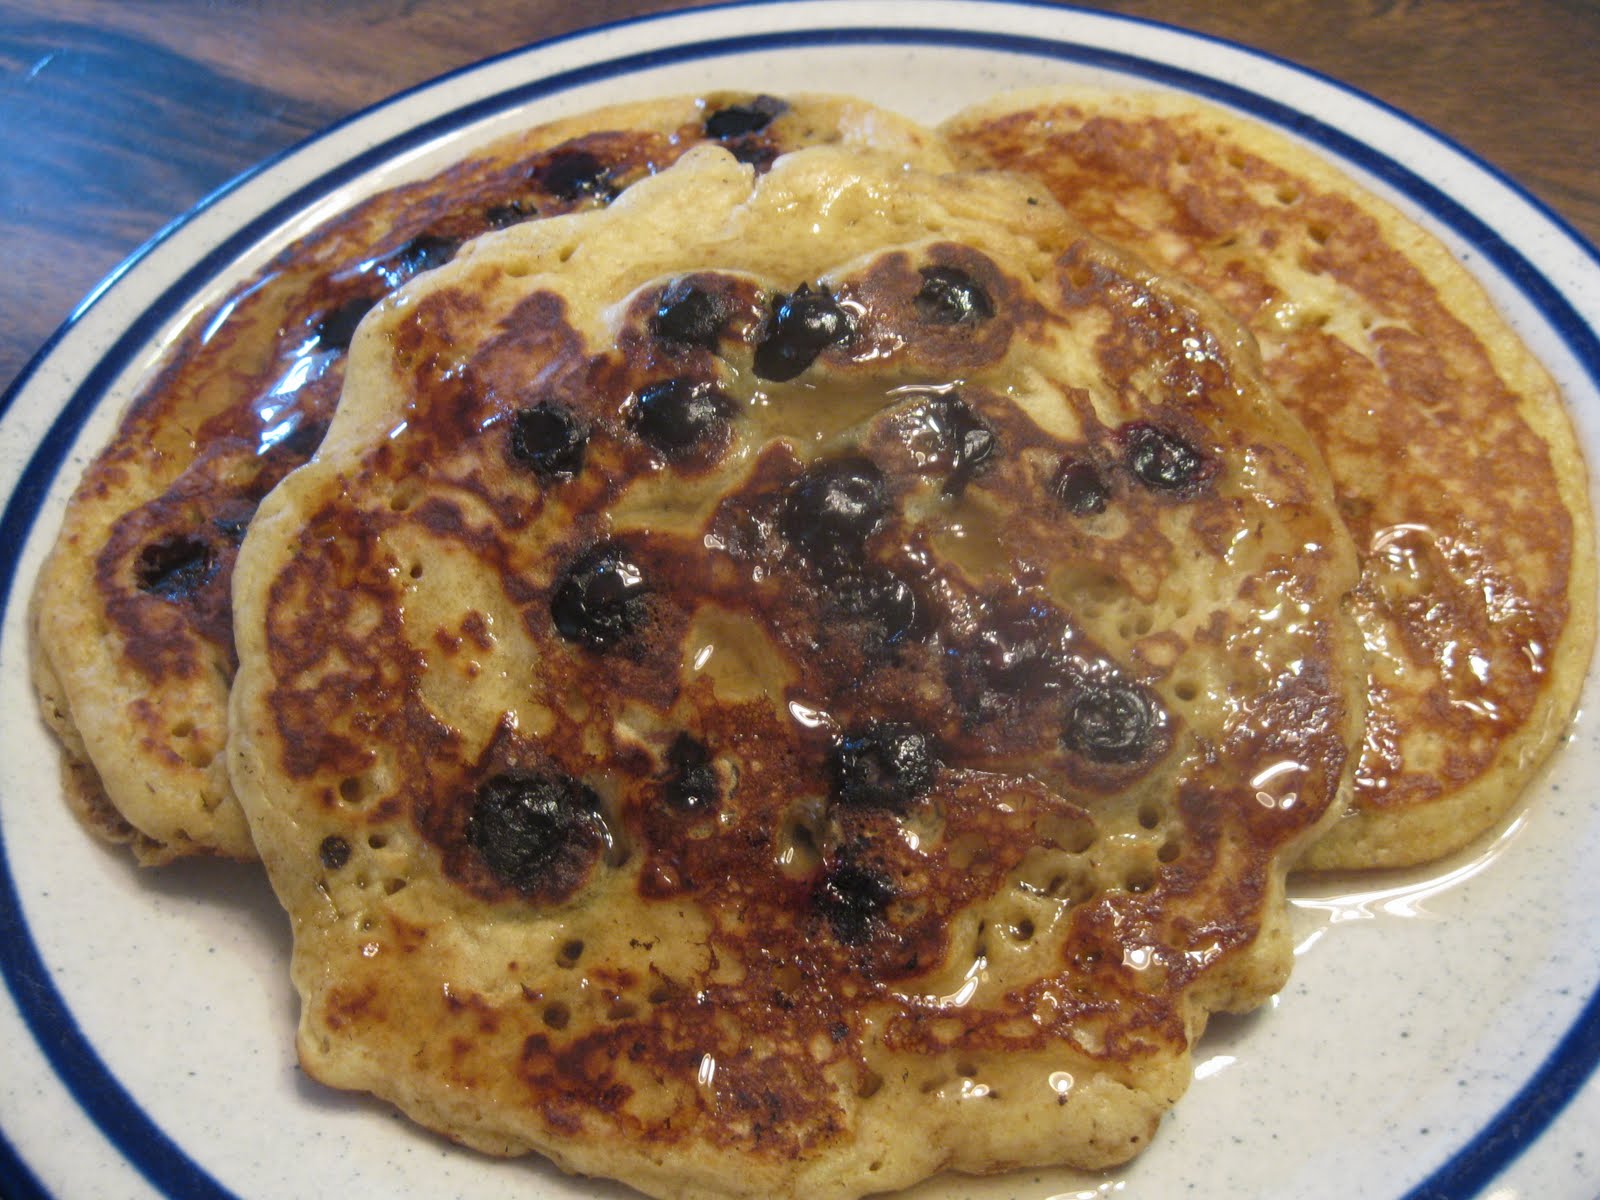
 - Cook until browned on both sides, serve hot with your favorite accoutrements. You can always sprinkle more berries over the top of the pancakes as well :) You can keep pancakes warm until you serve them by placing them on a plate in the oven. My oven was off, but you could turn it on to it's lowest setting if you like. I did make a few of these plain, without the blueberries, just to see what they tasted like, and they were totally fine, but the ones with blueberries won out, no contest.


LOOK at these babies!!! NOM NOM NOM!!! You know, with the Oatmeal, Blueberries and Honey, and the myriad health benefits all those foods have, I was almost going to call them *Superfood Pancakes* or *Superhero Pancakes*. However, this is, hands down, the best batch of pancakes I have ever made. In addition to being delicious and good for you, they enabled me to triumph over one of my oldest kitchen fears, that I would never learn to flip a pancake. So, Victory Pancakes they are, and ever shall be, in my book :) Breakfast as a self-esteem builder, I love it :)


Love,
Lynn

Tuesday, June 7, 2011

Dragon Salad (or Whole Wheat Couscous with Roasted Tomatoes and Roasted Garlic Dressing)

My Dears,
    Just in case there was any doubt (and I know there often is), food really CAN taste good AND be good for you. Last night, we had our monthly meeting for Fairy Tale Book Club, and this month, our theme was DRAGONS. And, insofar as possible, the food we bring to the Book Club meetings follows the theme of that meeting. As one can probably guess, our food theme to go along with discussing dragons was Roasted/BBQ, hehehe :) Some of last night's offerings included Blackened Chicken bites, BBQ Pulled Pork, Fruit Salad that resembled the jewels dragons are so famous for hoarding, bread fresh from the oven, roasted veggies, Dragon Eggs (hard boiled eggs dyed with tea) and my offering,Couscous Salad with Roasted Tomatoes and Roasted Garlic Dressing :) (Perhaps it is a stretch to call it Dragon Salad, but it sounds cool, so, indulge me, pretty please?)

  Lately I've been trying to be a good little monkey and incorporate more whole grains and veggies into my diet. I mean, don't get me wrong, I love veggies, but I seem to stick mostly to salads, and there's so much more to choose from than that. There are very few vegetables that I don't like, I'm just fussy about how they are prepared. Most veggies I prefer raw to cooked, with the notable exception of tomatoes. I love tomatoes cooked, but I really don't care for them raw, it's a texture thing. As a matter of fact, that's one of my culinary 30 by 30 goals, to find a method of preparation wherein I actually like raw tomato, but that's another blog.

 This salad is sort of a step in that direction. The tomatoes are slow roasted at a low temperature so they don't really caramelize, they just get less squishy and more sweet :) Still a ways out from good local tomatoes around these parts, gotta get a little farther into summer (but the local strawberries will be here soon, wheee!!!). However, even non-local tomatoes will taste great after a quick roast in the oven, and all the herbs in this dish were fresh cut from my very own herb garden, chilling out in pots on the back patio :)

  As the awesome Alton Brown once said "There are no bad foods, only bad food habits". All things in moderation around here, no deprivation, no guilt. However, that being said, it is absolutely true that some foods are more nutritious than others, and this dish focuses on some of them. Whole Wheat, Tomatoes (yay Lycopene!), Extra Virgin Olive Oil, etc. Lots of "Eat Well, Feel Better" goodies in this one, I'm proud of it :) And taste? Um, yeah, it's delish :) Now, to give credit where credit is due, the original recipe is another from the chef I want to be when I grow up, Deb at Smitten Kitchen. What you see here is my version, altered to my tastes. It completely disappeared at my Book Club meeting :) You know, if it wasn't me talking, I'd say I wasn't half bad at this cooking business ;)

 This one tastes like Summer, when the whole world is alive and my favorite things happen :)

Whole Wheat Couscous Salad with Roasted Tomatoes and Roasted Garlic Dressing
 ( inspired by this recipe from Deb at Smitten Kitchen)

For Dressing and Roasted Tomatoes
- 2 pints red grape or cherry tomatoes
- three large garlic cloves, unpeeled
- 1/4 cup Extra Virgin Olive Oil
- 1/4 cup warm water
- Juice of 2 lemons ( fyi, not all the juice will be used at once)
- 1 tsp. salt
- 1/4 tsp. black pepper


For Couscous

- 2 3/4 cups vegetable broth (chicken broth would be fine too)
- 2 1/4 cups Whole Wheat Couscous ( I used Fantastic World Foods Whole Wheat Couscous, 2 1/4 cups is basically the contents of 1 box.)
- 1/2 cup Kalamata or other brine-cured black olives, pitted and chopped.
- 1/3 cup ( about 1 handful) torn or chopped fresh flat leaf parsley
- 1/4 cup torn or chopped fresh mint (again, about a handful)
- 1/3 lb (or any decent-sized chunk) Israeli Feta Cheese (I use the kind packed in brine that you can get in little plastic tubs at Wegmans)

- Preheat oven to 250 degrees Farenheit
- Halve tomatoes through stem ends ( from top to bottom, not across the middle) and arrange, cut side up, in one layer in a large, shallow baking pan.
- Add garlic to pan and roast in the middle of the oven until tomatoes are slightly shriveled around the edges, about 1 hour. Cool in pan on rack for 30 minutes. (See Notes)

Note #1- It might just be my oven being weird, but my tomatoes were not done after one hour. I raised the oven temperature to 300 degrees and gave them an extra 15 minutes in the oven, and that did the trick :)

Note #2- When the tomatoes came out of the oven, I just balanced the pan over a burner on my stove, which elevated the cooling tomatoes the same way a cooling rack would. Also, I didn't cool them the full 30 minutes, it was more like 15 or 20, and they were fine.


- While tomatoes are roasting, bring the broth to a boil in a 3 qt. saucepan. Stir in couscous, let simmer in pan for about two minutes. Cover pan and remove from heat, let stand for 5-10 minutes (or, if you're using boxed couscous, just follow the cooking directions on the package).

- Spread couscous in 1 layer on a large baking sheet and allow to cool for 15 minutes. When couscous has cooled, run your (clean!) hands through it to break up any clumps.
 - When garlic is cool enough to handle, peel the garlic and using a small knife chop the garlic very finely and press and drag the knife through it until it becomes a paste. Mix the garlic with the olive oil, warm water and the juice of one lemon in a small bowl or liquid measuring cup and whisk until combined. (Alternatively, you could throw the garlic cloves, water, oil and lemon juice into a blender or food processor and process until smooth, I was just too lazy to go drag out said appliances, so I did it by hand).


- Transfer couscous into large bowl and stir in dressing, tomatoes, olives and fresh herbs. Crumble the feta cheese over the salad. Toss to combine with clean hands or large spoon. Adjust seasonings to taste. Salad can be chilled if you are not serving it immediately, but should be served at room temperature. Right before serving, Squeeze the juice of the second lemon over the salad a give it one last toss to incorporate.

- (salad components can be made one day ahead, just keep the tomatoes, dressing and couscous separate, covered and chilled. Bring to room temperature,combine and serve :)


                                                                 NOM NOM NOM :)
Be Well:)
Love,
Lynn