Pages

Wednesday, September 28, 2011

Preserving Summer Peach Butter

Greetings:)

      As much as I love Autumn, the end of Summer is always bittersweet for me, as I'm sure it is for many. This year, I decided to go on a brand new canning adventure and carry a small edible piece of Summer with me through the darker months of the year: Peach Butter :)

     I love canning and preserving :) I've been helping my family do it all of my life. It's a great group activity. I mean,who doesn't love a kitchen filled with good food, good smells and good conversation? Canning is a good skill to have and a great way to exercise more control over what's in your food. My usual canning repertoire is strawberry jam, blueberries (okay, confession time, I don't process the blueberries, I wash and freeze them in airtight containers and they do just fine, they last all winter, no problem and they taste great :) applesauce and tomatoes and/or tomato sauce. But this year I wanted to branch out a little and give peach butter a try. It was the first fruit butter I have ever attempted and, let me say in all honesty, YUM. This, my dear friends, is spreadable Summer, high, lush, ripe Summer, my mouth is watering just thinking about it....do I have any up here?...hmmmm.....*seductive eyebrow-wiggle in the direction of the fridge*


    This, like many of my best kitchen ideas, came from Deb at Smitten Kitchen. God BLESS this woman, she is a fearless culinary explorer. She came across a recipe for peach butter, drastically reduced the sugar and ELIMINATED the cinnamon and other warming spices and hot damn if she didn't hit the nail on the head. This is exactly what I would want out of a fruit butter, not too sweet, no heavy spices, just pure, unadulterated ripe peach flavor, YOWZA.

    I actually made two batches of this on two consecutive Saturdays. The first was a small test batch, and it only made about four half-pint jars. After round one passed without injury, my dear friend Theresa came over for the day and we made a triple batch :)

    The photos presented here are a mix of those two days. I've really followed Deb's method pretty much to the letter here, with one notable exception: For reasons unclear to me, my peach butter took TWICE as long to reach the desired consistency as Deb's original recipe said it would. I really don't know why that happened (but I noticed in the comments on her peach butter post that this happened to several other people, so I don't feel so bad about it). If I'm gonna lay it all out on the table, I would have liked my triple batch to be just a wee bit thicker, but I was afraid that if I let it reduce any more, the fruit would take on a burned flavor, and nobody likes that. So, I favored the spot-on flavor and slightly off consistency side of the equation and I didn't look back. You shouldn't either :) As you'll see in the recipe, you don't necessarily need to hot water-bath can this stuff. You can cool it, put it right in the jars, seal them up and put them in the fridge, and they'll last you a few weeks.......in theory *halo*


Peach Butter
(original recipe from Deb at Smitten Kitchen)

*This amount makes about four cups of peach butter
- 4 pounds peaches
- 1 cup water
- 2 cups granulated sugar
- Juice of 1 lemon

Without a Food Mill: Cut a small *X* in the bottom of each peach. Dip each into a pot of boiling water for 30 seconds, and then into a bowl of cold water for a minute. The peels should slide right off. (If you have a food mill, which I did, skip this peeling step and you'll see where to use it in a moment).


- Halve your peaches and remove the pits, then cut each half into quarters (i.e. 8 chunks from each peach). Place peach chunks and water in a large pot and bring to a boil. Simmer until peaches are tender, about 15-20 minutes, stirring them occasionally to make sure they cook evenly. If you have a food mill (I did) run the peaches through the food mill to puree them and remove the skins. If you don't have a food mill, -i.e. you already peeled your peaches- you can puree them in a food processor, in a blender (Careful! They will be hot!) or with an immersion blender. How smooth you blend the butter is up to you, any consistency level is fine, whatever you prefer. If you do use the food mill, the peach liquid that strains out of the bottom will look thin, but don't worry it will thicken up.


- Return the peaches to the large pot, add the sugar and lemon juice and bring the mixture to a good strong simmer/gentle boil, cooking them at this level for 30-40 minutes (WARNING: This may take longer than 30-40 minutes, in my case it too about 90 minutes, DON'T PANIC), stirring occasionally in the beginning and more often near the end as the butter thickens up, you don't want the fruit masses on the bottom to get scorched.


- There are a few ways to test for doneness: You can drizzle a ribbon of sauce across the surface; when that ribbon holds its shape before dissolving into the pot, it is done. Or, you could use a cold or frozen plate; dollop a spoonful of the butter into the middle of a cold plate and if no water forms a ring around it in a couple of minutes, it is done. Or, you could use a spoon; if the butter remains rounded on a spoon for two minutes, it is done. You can also check the pot itself; the butter is usually done when a wooden spoon leaves a clear trail when scraped across the bottom.

- If you are not canning the peach butter, let it cool and keep it in an airtight container in the fridge. It should be good for at least two weeks.

- To can the peach butter: First, sterilize your jars by boiling them in a large deep pot of water (with enough water to cover the jars completely) for 10 minutes or by washing them in lots of hot, soapy water, rinsing and drying them well. (Deb says to put the jars minus the lids in a 200 degree oven for 20 minutes, but I didn't do this and everything was fine).
Divide your piping hot peach butter between your jars, leaving a little room at the top.Wipe the rims clean with a dry towel and cover the jars with their lids. Submerge the jars in a canner or large deep pot of boiling water for 10 minutes, either in a removable basket or using tongs to dip and remove them. Let cool completely on towels, a process that may take overnight. If canned properly, the peach butter should last indefinitely at room temperature.


Somewhere there is a tray of homemade biscuits begging to be slathered with this golden nectar. Make it happen :)
Love,
Lynn


Saturday, September 10, 2011

Fresh Corn Salad

Hello , My Lovelies :)

     As I've been babbling about over on my other blog, this has been a busy and WONDERFUL summer, the highlight of which being our Engagement on July 24th, 2011 (Wahoooooo!!!! We're getting MARRIED!!! *happy dance!*) If you care to, you can read all about the adventures of Proposal Day and other Summer Shenanigans here, and view photos of the Proposal here :)

     Summer usually keeps me away from my computer quite a bit. I apologize for my absence and I'm so excited to be blogging again :)

And now, without further ado, THE FOOD :)

     As you may or may not know, one of my all-time favorite summer foods is corn. To me, corn on the cob with butter and salt is pure happiness, and I'm sure I'm not alone in that! However, although we primarily idenitfy corn as a summer staple, here in upstate NY, good quality local corn is available through September, which makes it a lovely Late Summer/Early Autumn treat as well.

   However, there's much more to do with fresh corn than just eating it on the cob. I'm sure corn on the cob must get boring after awhile, though that's never happened to me. It's always nice to change it up though! Enter Fresh Corn Salad :) This recipe has lots going for it, other than being light and fresh and tangy and yummy, it's also a great make-ahead dish, which is nice for large gatherings, so you don't have to stand by the stove or the grill waiting for the corn to be done while there's a party going on:) The only slightly labor-intensive part is removing the corn kernels from the cob, but even that goes fairly quickly once you get the hang of it.

   The way I'm presenting it here, this is more of a method than a recipe. It's based on the Fresh Corn Salad Recipe from *The Barefoot Contessa Cookbook* by Ina Garten, the ingredients are the same, with timing and amount alterations on my part.

Fresh Corn Salad
(original recipe inspiration from Ina Garten)

- 10-12 ears fresh corn on the cob, shucked and cornsilk removed (this can be made with good quality frozen corn in a pinch, but it would not be my first choice)
- One medium red onion or two small red onions, finely chopped
- A handful of fresh basil leaves, torn or finely chopped
- A few tablespoons Extra Virgin Olive Oil
- A few tablespoons Apple Cider Vinegar
- Salt and freshly ground black pepper to taste


- Place corn in large pot of boiling water and cook until starchiness is removed (this can take 8-12 minutes, the corn should give slightly when poked with a fork)

- Remove corn from cooking water and submerge in large bowl of ice water to stop the cooking process and set the color (don't skip this step, otherwise you'll have mushy, overcooked corn)

- Remove corn from ice water. Remove corn kernels from cob. If you have one of those little corn kernel remover things (they look like circles with lots of little nubbly fingers on the inside) then go ahead and use that, however, if you do not (I didn't) this is is the method I would suggest:

- Place a small round bowl bowl upside down inside a larger bowl so that the bottom is showing. Place the corn on top of the little bowl and scrape down the sides of the corn with a sharp knife (watch your fingers!!!) so that the kernels stay in the big bowl and don't go flying everywhere. Once the corn has been removed from the cobs, run your (clean) fingers through the corn to break up any clumps.

- Once all the corn kernels have been removed, combine with red onion, basil, EVOO, vinegar salt and pepper. I really do find that the most efficient way to mix this salad is with my (clean!) hands

- This salad can be serviced chilled or at room temperature, it's great for Barbecues and Potlucks, and I've relied on it for years :)
More to Come!!!
Love,
Lynn :)


Friday, July 1, 2011

The Ones That Got Away

Friends!!!

     On the morrow, I will be leaving for Lake George for all of next week. My family has spent the week of Fourth of July in the Adirondacks since my Mom was a kid, and it is one of my absolute favorites places in all the world :) It is also where the Vermonster lives :) My internet access up at the Lake is sporadic at best, so I wanted to get in one more blog post before we take off tomorrow. This week has been a flurry of packing, chores, errands, workshop prep and tying up loose ends before we leave, so no blog worthy cooking really took place (actually, that's not true, I made some damn fine Egg Creams the other night, but we didn't have the correct kind of glasses to serve them in, so the photos turned out pretty lousy, I'll blog about them later when I have the right kind of glasses).
   So, rather than post about a new recipe, I thought I'd post a few photos of some of the recipes I have attempted in the time I've had this blog (just over two years, wow!!!) that, for one reason or another, never made it up here. I had wanted to post five or six, but I'm having lots of issues with my laptop lately, and it won't let me post more than three sets of photos for some reason, so we'll have to go with three. For the sake of brevity, I'll try to keep the descriptions reasonably short. But, if you like the look of any of these, let me know and I'll do a formal post complete with recipe about them :) And now, without further ado, an assortment of recipes that you have never laid eyes on before, on this blog, anyway :)  See you next week, my lovelies, have a wonderful holiday!!!

Love,
Lynn

Red Velvet Cheesecake

This was part of our Easter Brunch spread this year and it was absolutely DELICIOUS. Unfortunately, this is how it came out of the oven:
 Yup, it bubbled over and cracked. Back to the drawing board with this one. We still ate it though, with a lovely white cream glaze:
Taste-wise it was wonderful, but not much to look at. As soon as I figure out to how to correct the above problem, I'll post it here :)

Panzanella

There are as many versions of this Tuscan bread-based salad as there are stars in the sky, depending on what season it is. This is one that I made back in April that was supposed to go to an Italian-themed potluck dinner, the same was I was supposed to bring the Olive Oil and Orange Cake to. However, that was not to be. I came down with a horrible stomach bug that day and was unable to attend the dinner. my family ate the Panzanella and the Olive Oil Cake went into the freezer for two weeks and was resurrected for a birthday party :) This one was delicious, but because I was so sick, it slipped off my radar to blog about it. I'm excited to make more of these as the summer progresses and the veggies ripen :)


Chocolate Chip Pie

This is basically a chocolate chip cookie in a pie shell. Yup, cookie pie. Yup, it's so good it's probably illegal. This is one of the ones that got lost in the shuffle during an insanely busy holiday season and a very ill winter. Once Autumn arrives again (and, believe me, it can take it's sweet time, I LOVE SUMMER) I will blog about this one. It's rich, chocolatey, flaky goodness lends itself more to the palate of the cozier months of the year.


Monday, June 27, 2011

Broken Oven Strawberry Pie

  Life Happens.....
     Our oven is broken. Or, to be more specific, the touch pad that controls our oven is broken. A replacement part has been ordered, but it will take 7-10 days to arrive, so we remain oven-less until that time. Thankfully though, since it is the touch pad and not any of the heating elements, our stove still works :) Last weekend we had a cookout for Father's Day and my parent's wedding anniversary, which happened to fall on the same day this year. The strawberries are in full swing, *insert Lynn's happy dance of summer berry glee here*, and our original plan was to either make strawberry shortcake or take a crack at this luscious looking strawberry cake, but our sans-oven status pretty-much negated that. Perusing my Mom's cookbook shelves I came across a small, paperback cookbook from the late 1970's that was published by the Pulaski, NY, ABE Program (basically an Adult Continuing Education program). Seeing that I had taken it out, my Mom flipped through the book also and noticed this Strawberry Pie recipe. It called for a graham cracker crust, and she happened to have a pre-made crust on hand. It looked quite easy, didn't call for the oven since we already had the crust, and we had just gotten a flat of strawberries at the Farmer's Market. It was meant to be :)

   This pie is sweet and simple. Strawberries, Cream Cheese, Sugar, Cornstarch, Water. Yup, that looks a lot like just FIVE ingredients to me!  Okay, five ingredients not counting the pre-made crust that we already had. There are certainly some decent pre-made pie crusts out there, choose your favorite brand or label read until you find one that doesn't have a lot of junk in it. Or, heck, if you have one on hand that YOU made, so much the better :)

Broken Oven Strawberry Pie
- taken from the *Pulaski ABE Recipes* Book, 1979 edition. Inspired by "Glazed Strawberry Pie", submitted by Maureen Labrake of Oswego, NY.

- Pre-baked 9 inch graham cracker pie crust (a regular pie shell would be fine too)
- 1qt drained, hulled strawberries (fresh, local, in season strawberries will be best, but out of season strawberries will do in a pinch)
- One 3oz package cream cheese, softened
- 1 cup of sugar (or to taste, depending on sweetness of berries)
- 3 tbsp. cornstarch

- Spread softened cream cheese over the bottom the pie shell and cover with half the berries (use the choicest and most attractive berries for this)


- Mash the remaining berries and add a little water to them if necessary until you have about 1& 1/2 cups. Transfer the berries to a saucepan, bring to a boil and stir in sugar and cornstarch. Cook over low heat, stirring constantly, until mixture returns to a boil. Boil one minute.

- Allow mixture to cool slightly. Pour mixture over berries in pie shell. Chill pie for at least two hours or overnight. Serve with whipped cream :) Enjoy the berries while they last :)


Thursday, June 23, 2011

Victory Pancakes (Oatmeal Pancakes with Blueberries and Honey)

Hello, My Loves,

  In the archives of this blog, I'm pretty sure we've already covered the concept of food emergencies. In essence, a food emergency, in my little world, is when you have an inexplicable need for a certain food, a close relative of the *craving*, or as my Mom would say, a *wooly* :) Last Monday night, I wanted pancakes. I NEEDED pancakes, I would not REST until I had PANCAAAAKES! I'm not sure why, because I had just had some pretty good ones a few days earlier when I went out for breakfast with Michael's family, but there it was. I was in the midst of a pancake emergency. Something had to be done. It was pretty late in the evening, too late to make pancakes right then, so I did some recipe research for the following morning. I've really been enjoying the inclusion of more whole grains and other healthful foods into my daily diet, so I decided to look at recipes for whole grain pancakes,with the added caveat that  they had to be made from ingredients that I already had in the house, because I was too lazy to make another trip to the grocery store. I didn't have any whole wheat flour in the house, but, I did have Oats. Wegman's brand Quick-Oats, to be exact. Oatmeal pancakes they would be :)

  Allow me a quick subject detour to explain something. Although I love pancakes, the creation of the perfect pancake has always eluded me. I make a dang good pancake batter, but I always seem to stumble when it comes to the actual *cook and flip* part. I inevitably flip them too early or too late, ending up with either burned, broken or undercooked pancakes. A few years back I attempted a batch of Ricotta Pancakes that were such a complete disaster that I was actually in tears over them. So, suffice it to say, up until recently, I was more than content to do the *mixy-mixy* part and let a kitchen helper do the *flippy-flippy* part. However, in the midst of a food emergency with no kitchen helper in sight, it was time to face my pancake-flipping fears :)

    So, Monday night was spent looking for whole grain pancake inspiration. The base recipe I eventually went with (though admittedly, I altered it a fair bit) came from a website called allrecipes(dot)com, here's the link. I used to use this site a great deal and I have no idea why it has recently fallen off my radar, I definitely need to go back to using it for recipe inspiration in the future. It's almost like a recipe-themed Facebook. People post recipes by category and then other people rate them and leave comments about trying the recipe and anything they did to adapt it, suggestions, etc. They also have nutrition info and a tool to scale recipes up or down, depending on how many people you're feeding :) It's a fun site, check it out :) So, I had a base recipe to work from, and all the ingredients I needed, I couldn't wait for breakfast the next morning :)

   Boy oh boy,either the Gods of Whole Grain Goodness were with me or I've magically gotten the hang of pancake flipping, because these turned out better than I could have hoped :) Pancake redemption was MINE!!! All kidding aside, they taste great, really, they do, and not in that apologetic *we're not bad for whole grain, don't complain,we're healthy* kind of way. They taste good in and of themselves. They don't need to measure up to regular pancakes, they stand on their own merits. Also, (and this is just my personal preference) I don't really like overly sweet pancakes, and sometimes pancakes that are made with just white flour, especially if they have fruit in them plus syrup on top, are too sweet for me. With these, the oat flour balances out the blueberries, making the pancakes just sweet enough.

  The batter is half oat flour and half all-purpose flour (but nutritionists say that anything made with at least 50% whole grain is considered whole grain, so we're good:). I'd be willing to bet you could probably coax the ratio to three parts oats to one part flour, and they'd probably be fine and you'd get even more oat goodness.  I also replaced the sugar with honey and used skim milk ( but really, that was just because I didn't have any buttermilk, you could use low fat buttermilk here too and they would be equally delicious). Since I was only making a test batch, I made a mini-version of this recipe that made about 5 medium-sized pancakes. Here is the recipe scaled for a more normal-sized batch. This should make about 10-ish pancakes, depending on how big you want the pancakes to be. Making and eating these put a smile on my face :)

Oatmeal Pancakes with Blueberries and Honey
(recipe inspiration taken from www.allrecipes.com, from member name *mom2hhh*)

- 1 cup all-purpose flour
- 1 cup quick oats or 1 cup oat flour
- 2 tbsp. Honey
- 2 tsp. baking powder
- 1/2 tsp. baking soda
- 1 tsp. salt
- 1 1/2 cups skim milk or low-fat buttermilk
- 4 tablespoons vegetable oil
- 2 eggs
- 1-2 tsp. vanilla extract (optional)
- 1-2 cups blueberries, depending on how much fruit you like in your pancakes.

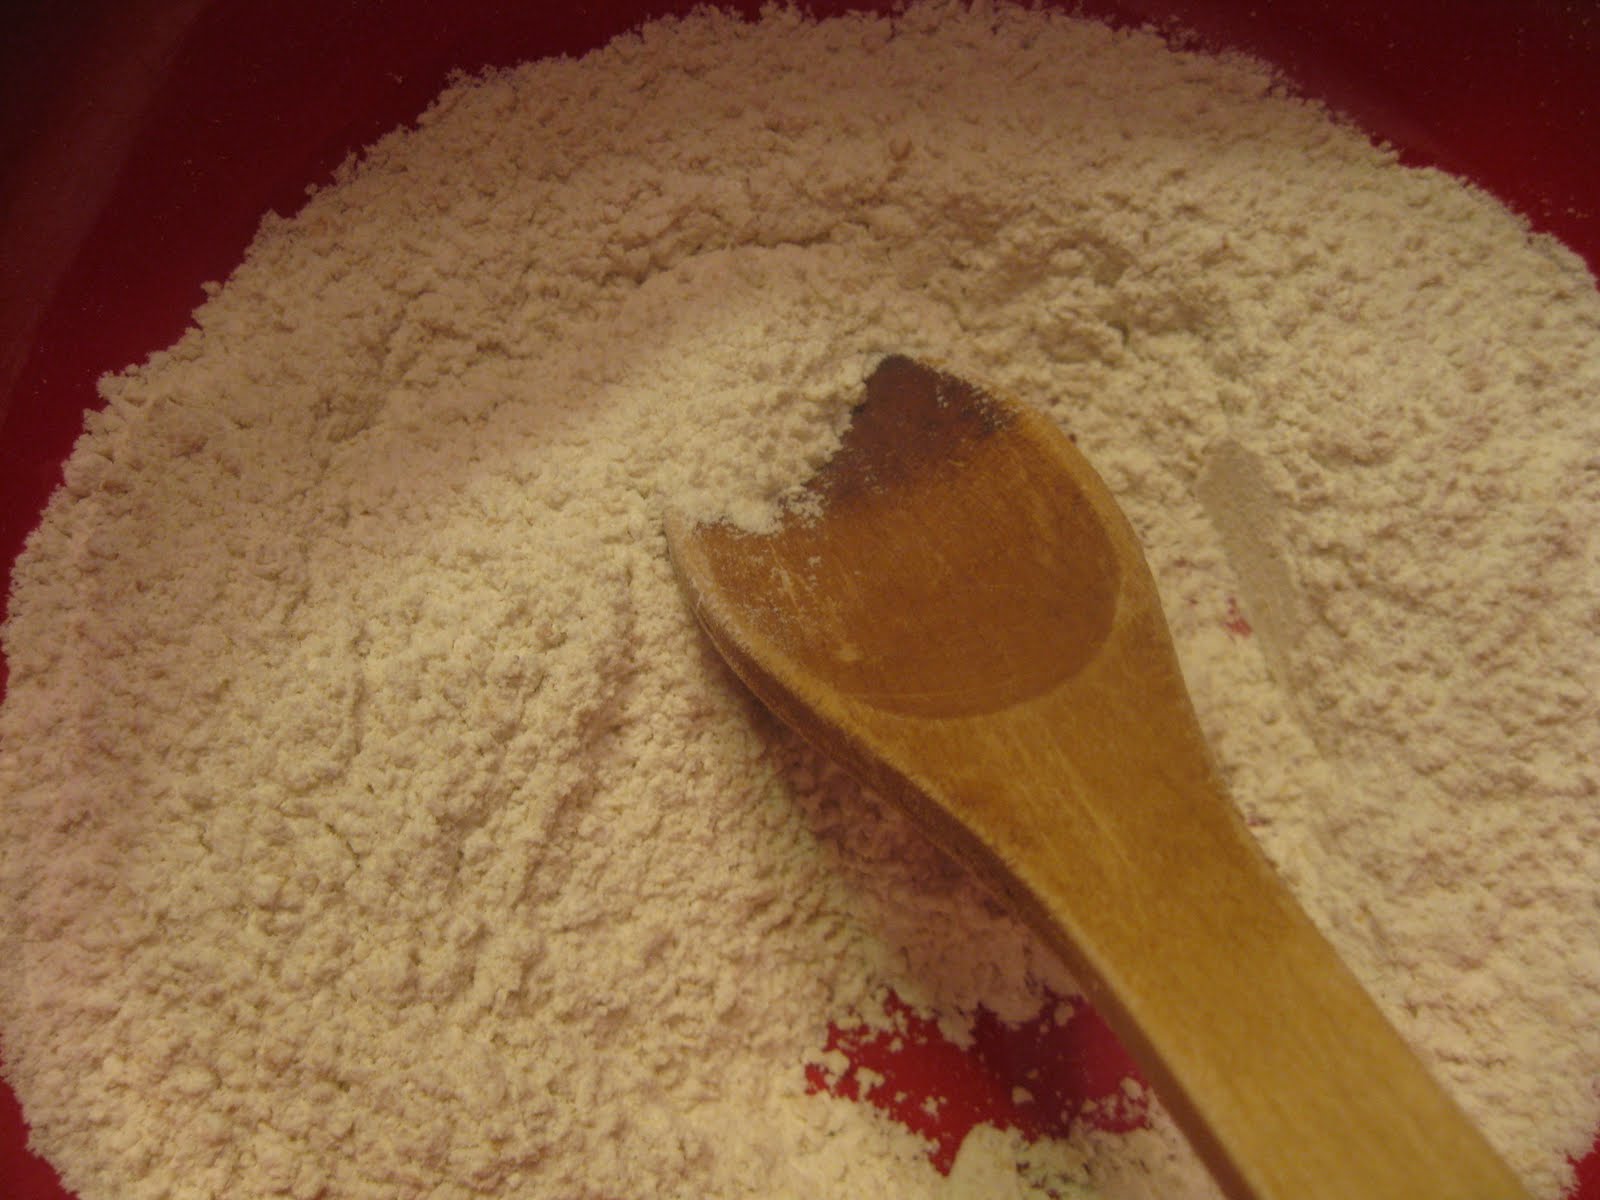
-If you are starting with Quick Oats and not Oat Flour (like I did). Put the oats in the food processor and pulse them a few times until they are coarsely to finely ground, but not all the way down to powder. *points down* 


  (All oat flour is is ground up oats, save yourself the price markup, buy a container of quick oats, grind them in the food processor and bingo, you have oat flour. Store them in an air tight container you're golden :)

- Transfer oats to mixing bowl and add all remaining ingredients. Mix all ingredients together. IMPORTANT!!! Do not over mix the batter, it will look a little lumpy and that's fine. I find that 10-12 stirs around the bowl with a large spoon is all you need, seriously. See Notes.

Note 1: If you want to take the time, you can put all the dry ingredients in one bowl, all the wet ingredients in another bowl and then add the wet to the dry. I confess, I did not do this, and everything turned out fine.

Note 2: If you want to save a step, you can put all the ingredients into the food processor and puree until smooth. It would save you time and there'd be one less mixing bowl to clean, I just like to mix things, so I did it by hand :) It's more satisfying to me :)


- Heat a lightly oiled or buttered griddle or frying pan over medium to medium-high heat (I alternated between butter-flavored PAM spray and butter, the butter won hands down, I'll take the few extra calories, and you could certainly use oil instead) . Pour or scoop the batter onto the griddle, I used a soup ladle, about one ladle-ful per pancake. When pancakes become dull (as in, no longer shiny) around the edges and little bubbles start to pop up in the middle, sprinkle the berries onto the pancake and you are ready to flip. (THAT's the trick I've been missing, matte around the edges and bubbles in the middle, I MUST remember this!!!) Another pancake-flip hint. If the pancake is too big to flip with one spatula, or the spatula is on the small or narrow side, use two spatulas. One in each hand. Slide the two spatulas horizontally under the pancake and then flip. I would I could have take a photo or video of this, but I could not, because I had a spatula in each hand 0_o

 - Cook until browned on both sides, serve hot with your favorite accoutrements. You can always sprinkle more berries over the top of the pancakes as well :) You can keep pancakes warm until you serve them by placing them on a plate in the oven. My oven was off, but you could turn it on to it's lowest setting if you like. I did make a few of these plain, without the blueberries, just to see what they tasted like, and they were totally fine, but the ones with blueberries won out, no contest.


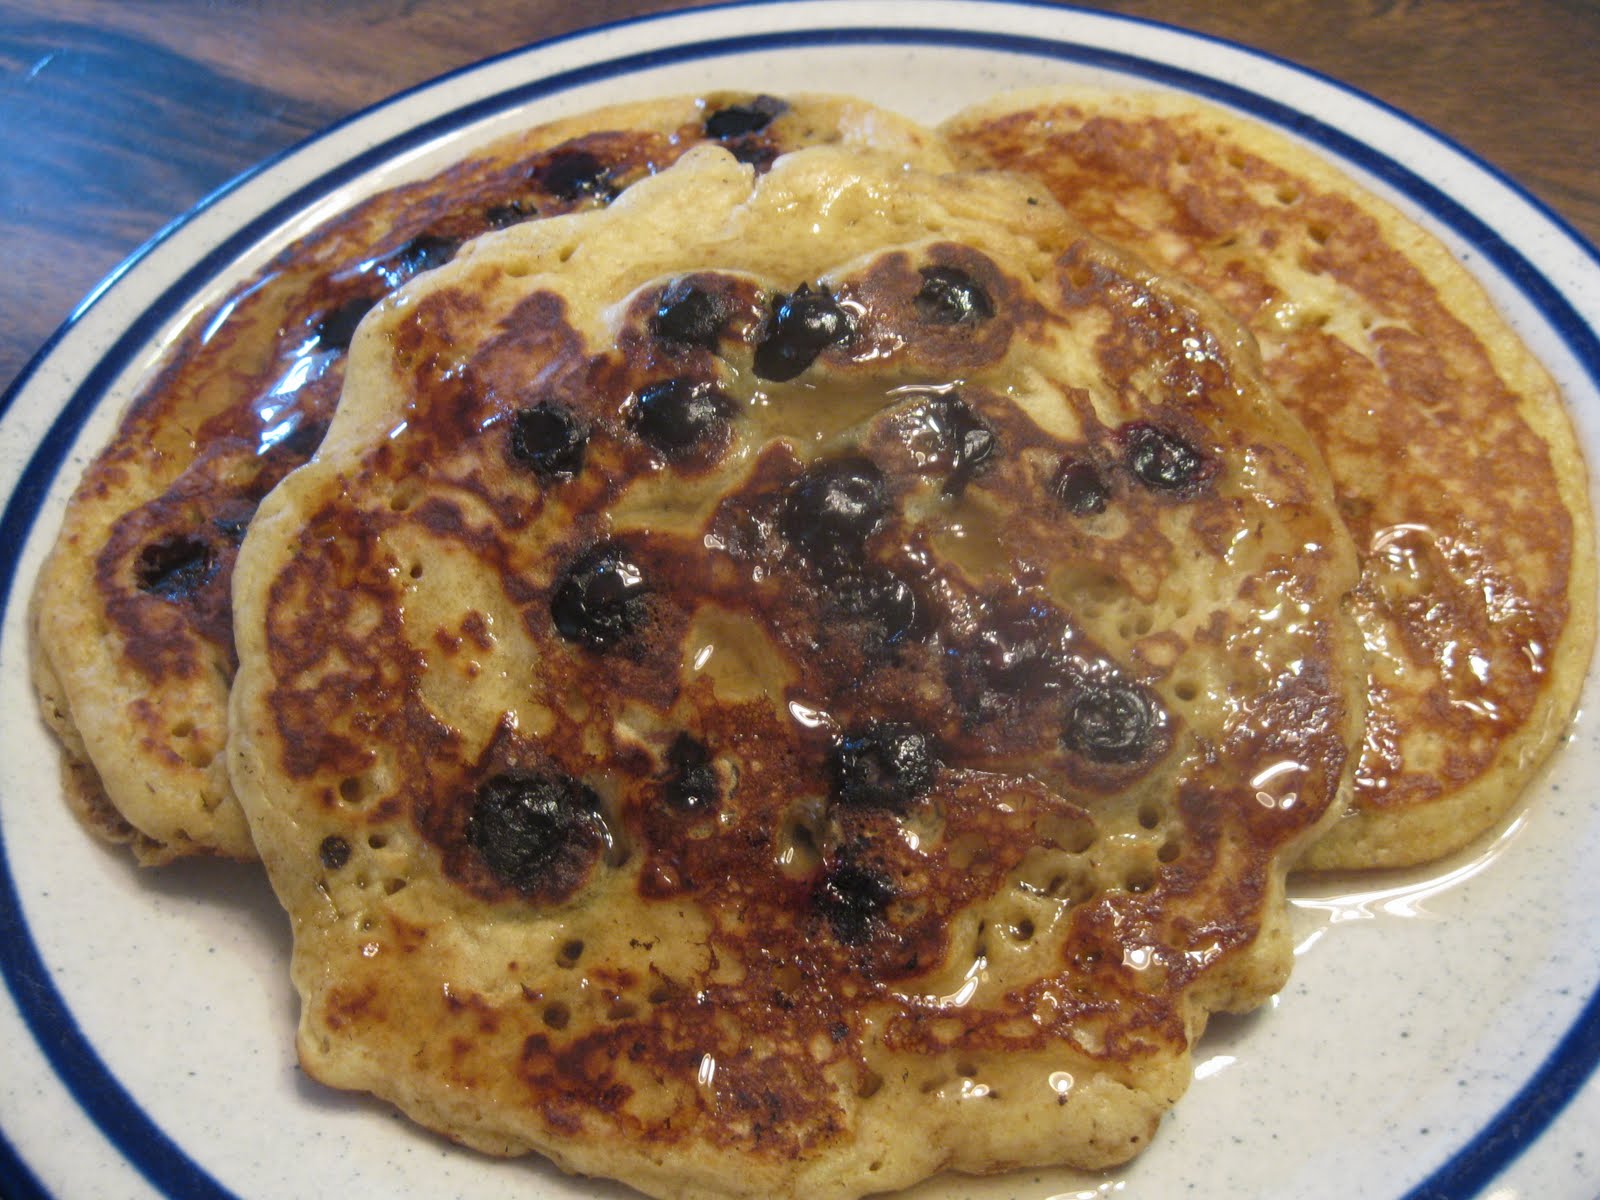
LOOK at these babies!!! NOM NOM NOM!!! You know, with the Oatmeal, Blueberries and Honey, and the myriad health benefits all those foods have, I was almost going to call them *Superfood Pancakes* or *Superhero Pancakes*. However, this is, hands down, the best batch of pancakes I have ever made. In addition to being delicious and good for you, they enabled me to triumph over one of my oldest kitchen fears, that I would never learn to flip a pancake. So, Victory Pancakes they are, and ever shall be, in my book :) Breakfast as a self-esteem builder, I love it :)


Love,
Lynn

Tuesday, June 7, 2011

Dragon Salad (or Whole Wheat Couscous with Roasted Tomatoes and Roasted Garlic Dressing)

My Dears,
    Just in case there was any doubt (and I know there often is), food really CAN taste good AND be good for you. Last night, we had our monthly meeting for Fairy Tale Book Club, and this month, our theme was DRAGONS. And, insofar as possible, the food we bring to the Book Club meetings follows the theme of that meeting. As one can probably guess, our food theme to go along with discussing dragons was Roasted/BBQ, hehehe :) Some of last night's offerings included Blackened Chicken bites, BBQ Pulled Pork, Fruit Salad that resembled the jewels dragons are so famous for hoarding, bread fresh from the oven, roasted veggies, Dragon Eggs (hard boiled eggs dyed with tea) and my offering,Couscous Salad with Roasted Tomatoes and Roasted Garlic Dressing :) (Perhaps it is a stretch to call it Dragon Salad, but it sounds cool, so, indulge me, pretty please?)

  Lately I've been trying to be a good little monkey and incorporate more whole grains and veggies into my diet. I mean, don't get me wrong, I love veggies, but I seem to stick mostly to salads, and there's so much more to choose from than that. There are very few vegetables that I don't like, I'm just fussy about how they are prepared. Most veggies I prefer raw to cooked, with the notable exception of tomatoes. I love tomatoes cooked, but I really don't care for them raw, it's a texture thing. As a matter of fact, that's one of my culinary 30 by 30 goals, to find a method of preparation wherein I actually like raw tomato, but that's another blog.

 This salad is sort of a step in that direction. The tomatoes are slow roasted at a low temperature so they don't really caramelize, they just get less squishy and more sweet :) Still a ways out from good local tomatoes around these parts, gotta get a little farther into summer (but the local strawberries will be here soon, wheee!!!). However, even non-local tomatoes will taste great after a quick roast in the oven, and all the herbs in this dish were fresh cut from my very own herb garden, chilling out in pots on the back patio :)

  As the awesome Alton Brown once said "There are no bad foods, only bad food habits". All things in moderation around here, no deprivation, no guilt. However, that being said, it is absolutely true that some foods are more nutritious than others, and this dish focuses on some of them. Whole Wheat, Tomatoes (yay Lycopene!), Extra Virgin Olive Oil, etc. Lots of "Eat Well, Feel Better" goodies in this one, I'm proud of it :) And taste? Um, yeah, it's delish :) Now, to give credit where credit is due, the original recipe is another from the chef I want to be when I grow up, Deb at Smitten Kitchen. What you see here is my version, altered to my tastes. It completely disappeared at my Book Club meeting :) You know, if it wasn't me talking, I'd say I wasn't half bad at this cooking business ;)

 This one tastes like Summer, when the whole world is alive and my favorite things happen :)

Whole Wheat Couscous Salad with Roasted Tomatoes and Roasted Garlic Dressing
 ( inspired by this recipe from Deb at Smitten Kitchen)

For Dressing and Roasted Tomatoes
- 2 pints red grape or cherry tomatoes
- three large garlic cloves, unpeeled
- 1/4 cup Extra Virgin Olive Oil
- 1/4 cup warm water
- Juice of 2 lemons ( fyi, not all the juice will be used at once)
- 1 tsp. salt
- 1/4 tsp. black pepper


For Couscous

- 2 3/4 cups vegetable broth (chicken broth would be fine too)
- 2 1/4 cups Whole Wheat Couscous ( I used Fantastic World Foods Whole Wheat Couscous, 2 1/4 cups is basically the contents of 1 box.)
- 1/2 cup Kalamata or other brine-cured black olives, pitted and chopped.
- 1/3 cup ( about 1 handful) torn or chopped fresh flat leaf parsley
- 1/4 cup torn or chopped fresh mint (again, about a handful)
- 1/3 lb (or any decent-sized chunk) Israeli Feta Cheese (I use the kind packed in brine that you can get in little plastic tubs at Wegmans)

- Preheat oven to 250 degrees Farenheit
- Halve tomatoes through stem ends ( from top to bottom, not across the middle) and arrange, cut side up, in one layer in a large, shallow baking pan.
- Add garlic to pan and roast in the middle of the oven until tomatoes are slightly shriveled around the edges, about 1 hour. Cool in pan on rack for 30 minutes. (See Notes)

Note #1- It might just be my oven being weird, but my tomatoes were not done after one hour. I raised the oven temperature to 300 degrees and gave them an extra 15 minutes in the oven, and that did the trick :)

Note #2- When the tomatoes came out of the oven, I just balanced the pan over a burner on my stove, which elevated the cooling tomatoes the same way a cooling rack would. Also, I didn't cool them the full 30 minutes, it was more like 15 or 20, and they were fine.


- While tomatoes are roasting, bring the broth to a boil in a 3 qt. saucepan. Stir in couscous, let simmer in pan for about two minutes. Cover pan and remove from heat, let stand for 5-10 minutes (or, if you're using boxed couscous, just follow the cooking directions on the package).

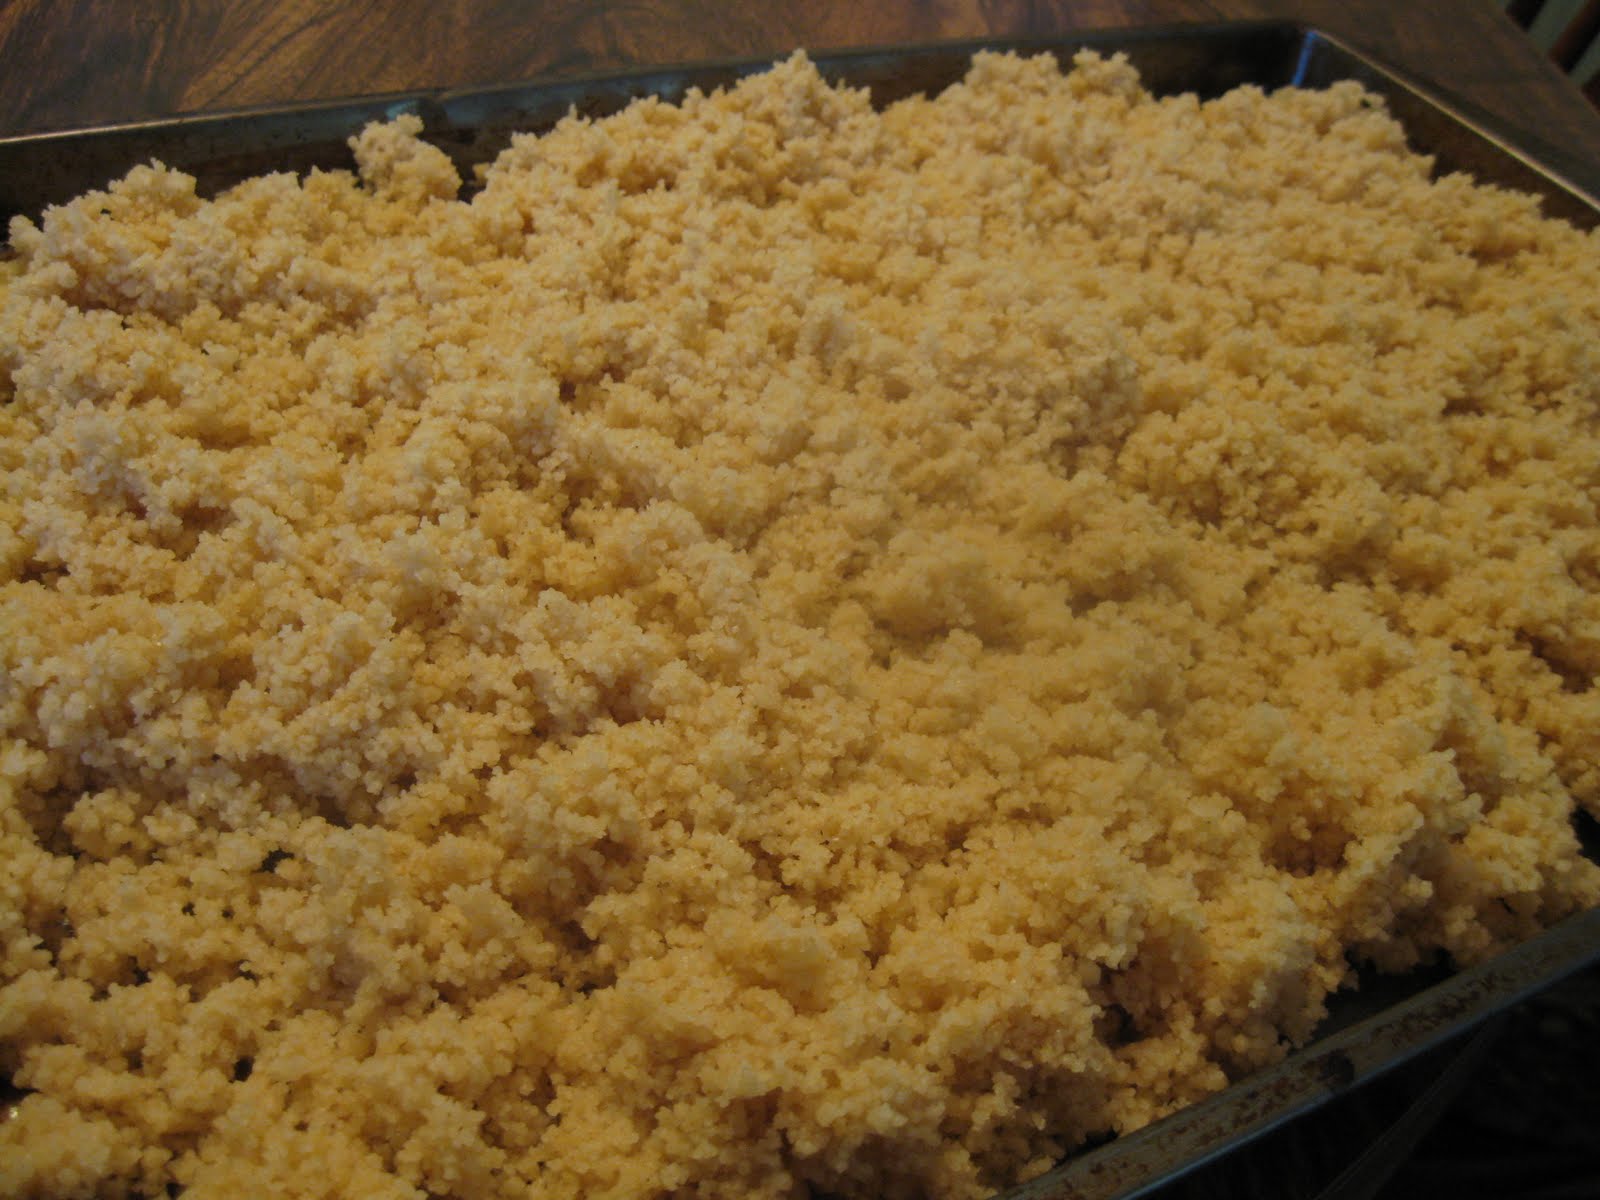
- Spread couscous in 1 layer on a large baking sheet and allow to cool for 15 minutes. When couscous has cooled, run your (clean!) hands through it to break up any clumps.
 - When garlic is cool enough to handle, peel the garlic and using a small knife chop the garlic very finely and press and drag the knife through it until it becomes a paste. Mix the garlic with the olive oil, warm water and the juice of one lemon in a small bowl or liquid measuring cup and whisk until combined. (Alternatively, you could throw the garlic cloves, water, oil and lemon juice into a blender or food processor and process until smooth, I was just too lazy to go drag out said appliances, so I did it by hand).


- Transfer couscous into large bowl and stir in dressing, tomatoes, olives and fresh herbs. Crumble the feta cheese over the salad. Toss to combine with clean hands or large spoon. Adjust seasonings to taste. Salad can be chilled if you are not serving it immediately, but should be served at room temperature. Right before serving, Squeeze the juice of the second lemon over the salad a give it one last toss to incorporate.

- (salad components can be made one day ahead, just keep the tomatoes, dressing and couscous separate, covered and chilled. Bring to room temperature,combine and serve :)


                                                                 NOM NOM NOM :)
Be Well:)
Love,
Lynn